Need a new way to enjoy your favorite cinnamon sugar cookie? These snickerdoodle macarons are IT!
You know how during job/residency/medical school/graduate school/college interviews you’re occasionally asked to give an example of a challenge that you overcame?
Well, I finally have an answer that doesn’t involve rescuing small adorable animals from trees, saving grandmothers from having to walk across streets unattended, and/or not learning to ride a bike until I was 12 (<– no judging).
And does involve almond flour that won’t sift, ovens that probably run too hot (not that we would know because we don’t own an oven thermometer), and many many many (many) egg whites.
(But really. So many.)
“My road to perfect macarons was littered with cracked shells, footless cookies, and broken dreams”, I will say.
But the good news is, this story is a comedy.
Meaning: happy endings (and cinnamon sugar macs) for all!

My peanut butter and jelly macarons, though adorably delicious, left something to be desired in terms of traditional macaron qualities. Namely in the areas of cute feet, smooth tops, and not hollow insides.
While I was very tempted to attribute all of this to some sort of macaron black magic, ever the scientist at heart, I like to think that there are reasons why things go wrong in baking. And if I could just figure out the right formula of ingredient amounts + oven temperatures + batter consistency, I was sure I would be guaranteed perfect macarons every time.
So I did what any well-trained scientist would do and changed every single variable at once so that I would have no idea exactly which changes were really making my macarons better and which were superfluous. Obviously. (<– not how to be a good scientist.)
A few failed batches and switcheroos later, and I think I can confidently say that I have found a recipe that works for me in my kitchen with my oven. I am not so cavalier as to say that it will work for you in your kitchen in your oven…but it’s a good jumping off point.
So let me lead you through the black art…I mean, “totally scientific” logic of macaron making.
Let’s start at the very beginning.
The first and foremost most important thing you need to know about macs…is that you MUST weigh your ingredients. I don’t care if you have a tried and true scoop and swipe method for flour measuring. If you want to make perfect macs, you have to weigh. End of story.
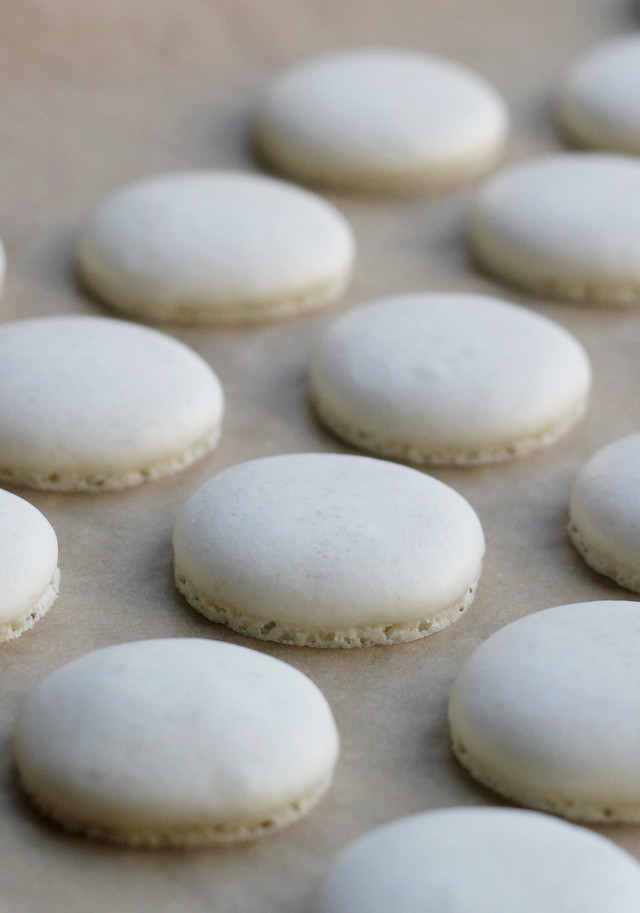
Which brings us to point two – SIFTING. If you want smooth tops, you have to sift. Even if you buy pre-ground almond flour instead of grinding your own – you have to sift. I’ve done it both ways and even with the pre-ground stuff, about half it it is too big to get through a sifter and had to be re-ground. If you don’t care how smooth your mac tops are, then skip the sifting. In the end, it’s your choice.
Macarons are basically super whipped egg whites mixed with sugar and almond flour. They’re not super heavy on the ingredients, which means each component must be really solid. Your eggs must be whipped to the most stable meringue imaginable. I’ll tell you how to do that, but basically it involves beating them on super high mixer speeds for 10 MINUTES. Whenever you think they’re done…beat for another minutes after that. And then once you stiffen your egg whites as much as humanly possible…you have to deflate them into the almond flour and (wait for it) more sugar. When you’re mixing the egg whites with the dry ingredients, you want to be simultaneously folding the two together and smashing them against the sides of the mixing bowl. It will take about 45 fold-and-smashes to get them to the right lava-like consistency. You know you’re done mixing when you drop the batter on top of itself and it reincorporates into itself within 20 seconds.
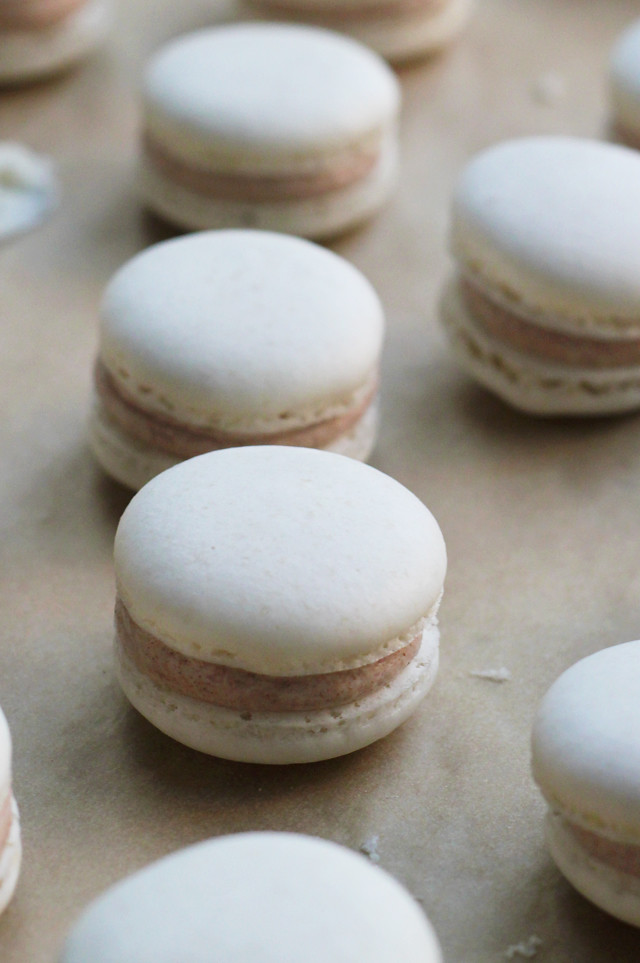
Now you’ll want to pipe your macarons onto parchment-lined baking sheets. I used this as a template. After you’re done piping, bang the sheets against the counter twice. Turn them 90 degrees and bang two more times. This will release any air bubbles and help to prevent cracking. Now take a deep breath and a step back and let your macarons rest! For about 45-60 minutes, or until you swipe the top of the with your finger and it feels like they’ve formed a skin. This skin will help your macs form cute little feet!
Meanwhile, preheat your oven. When the macs are ready, bake them one sheet at a time on the rack that is farthest from the source of heat. In my oven, the flames are on the bottom, so I put the macs on the top rack. This helps prevent them from getting too hot too fast cracking.
And there you have it. Macarons in a nutshell.
You might be wondering why I’ve become so macaron-obsessed all of the sudden, and mainly it’s because I am a type A crazy person who can never say no to a challenge.
So when Sucre asked me if I wanted to participate in their Macaron Baking Challenge, I knew I couldn’t say no!
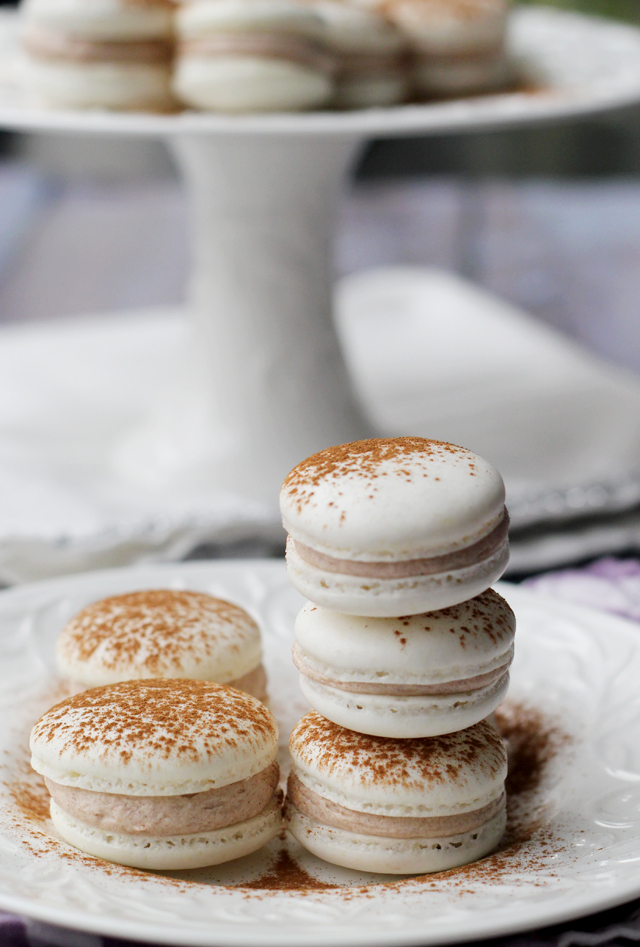
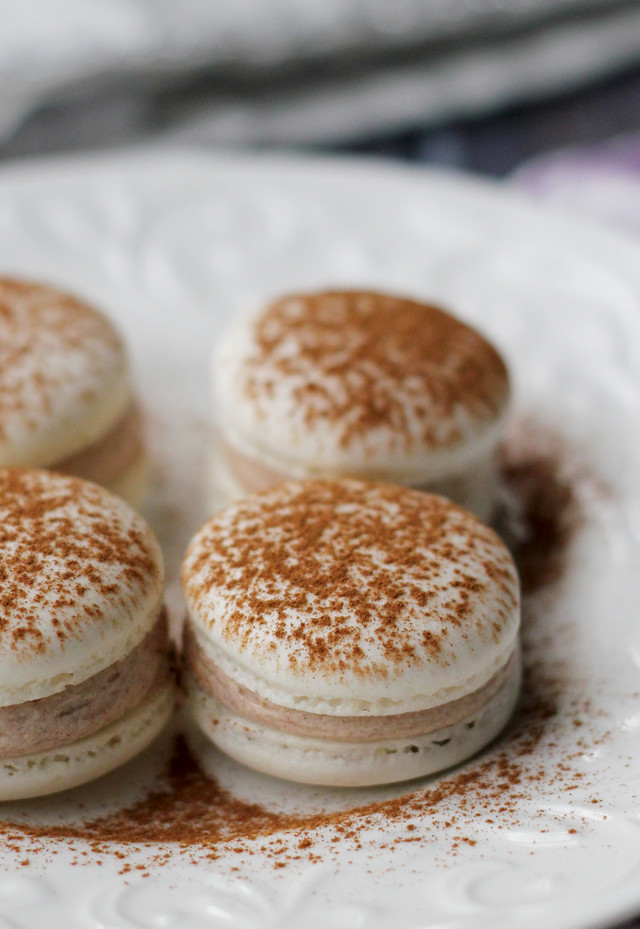
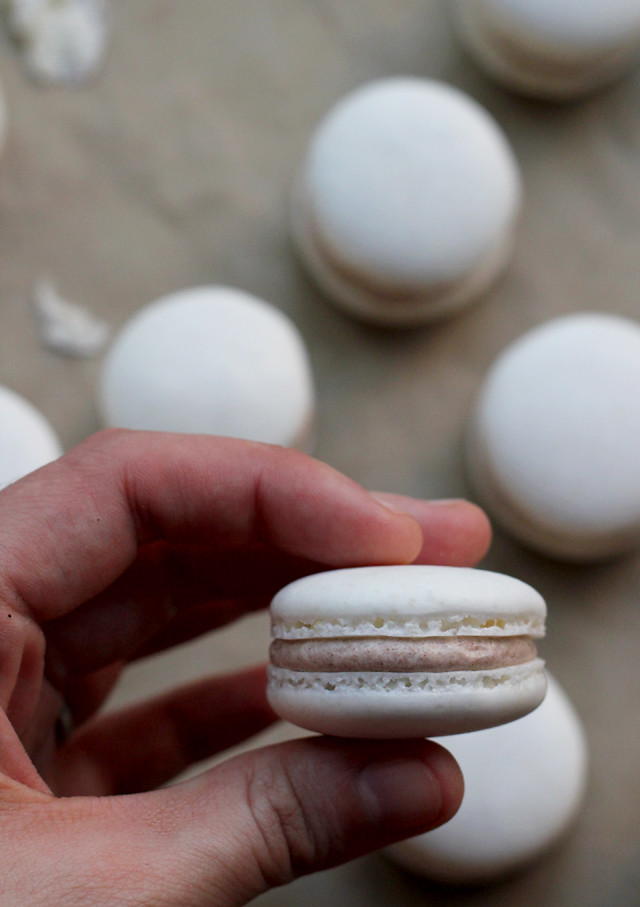
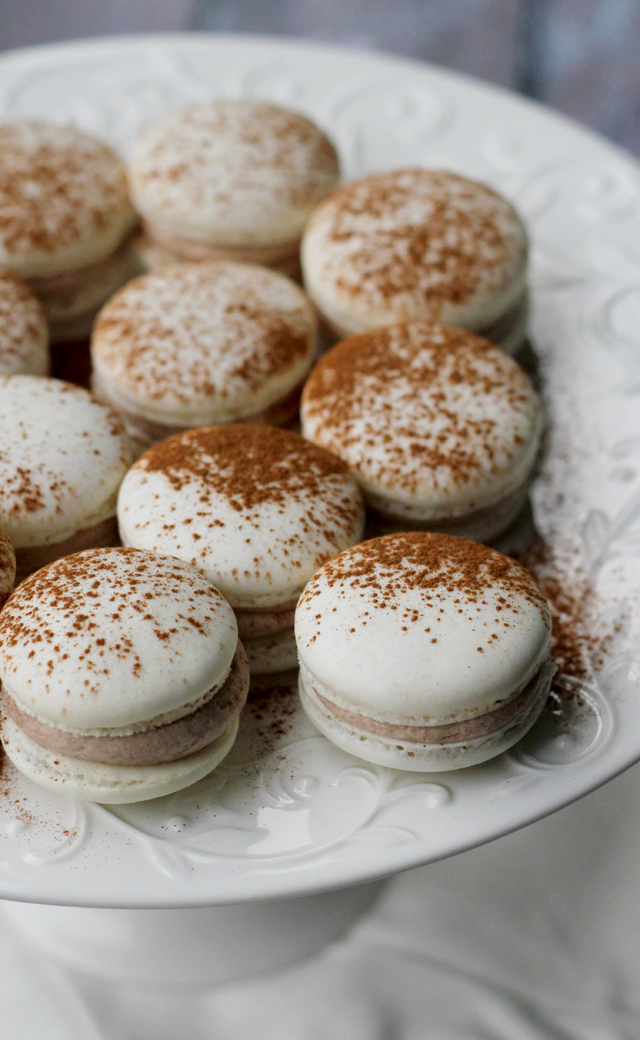
Now, this challenge is a CONTEST, so if you wouldn’t mind, I would really appreciate it if you would head on over to Sucre’s site and VOTE for my Snickerdoodle Macarons!! With a cinnamon-dusted macaron shell and a cinnamon sugar buttercream, these taste just like everyone’s favorite cinnamon sugar cookie! (But cuter, because they’re in macaron form.)
Snickerdoodle Macarons
Need a new way to enjoy your favorite cinnamon sugar cookie? These snickerdoodle macarons are IT!
Yield: 40 macarons
Ingredients
For the macarons
- 115 g blanched almond slices, ground, or almond flour
- 230 g powdered sugar
- 144 g egg whites
- 72 g granulated sugar
- 2 g kosher salt
For the cinnamon sugar buttercream
- 1 cup unsalted butter, room temperature
- 4 cups confectioner's sugar
- ¼ cup heavy cream
- 2 tsp vanilla extract
- salt, to taste
- 1 tbsp cinnamon, plus more for dusting
Instructions
- If using almond slices, grind in a food processor with the powdered sugar for at least three minutes, but before the almonds start to become almond butter.
- Sift together the almond flour and powdered sugar into a large bowl. If there are almond flour slices that won't pass through the sifter, then grind them again until they do.
- In the bowl of a stand mixer fitted with the whisk attachment, combine the egg whites, sugar and salt. Beat on medium (speed 4) for 3 minutes. Increase the speed to medium-high (speed 6) and beat for another 3 minutes. Increase the speed to 8 and beat for another 3 minutes. Increase it to 10 and beat for one more minute. When you lift the whisk, the meringue should be stuck to it. Lightly tap it against the side of the bowl until it falls off.
- Pour the dry ingredients into the meringue. Fold them into the meringue using the "fold-and-smash" method (fold and then subsequently smash and smear against the side of the bowl). Mix until the batter is lavalike and when you spoon some of the batter out and drop it back in, it completely incorporates within about 20 seconds.
- Transfer half of the batter to a piping bag fitted with a ½-inch round tip. Line two baking sheets with parchment paper. Pipe the macarons into evenly sized and spaced circles, making sure to keep the piping bag straight up and down as you do so.
- Rap the baking sheet hard against the counter, twice. Turn ninety degrees and rap another two times. Let rest for 45-60 minutes.
- Meanwhile, preheat the oven to 275F.
- Bake the macarons, one tray at a time, on the rack farthest from the oven's flame for 18 minutes. Allow to cool completely on the pans.
- Repeat with remaining batter.
- For the buttercream, in the bowl of a stand mixer fitted with the paddle attachment, combine the butter and powdered sugar, mixing on medium-high speed until light and fluffy. Add in the cream and vanilla and beat on medium-high for 3 minutes. Mix in the cinnamon until completely combined, as well as salt to taste.
- Pipe the buttercream onto the flat side of half of the macarons and then top them with a second, similarly sized macaron. Refrigerate in an airtight container overnight. Dust with cinnamon before serving.
source:https://joanne-eatswellwithothers.com/2014/04/snickerdoodle-macarons.html
Comments
Post a Comment